Field dressing a deer can seem intimidating, but with the right approach, it becomes a straightforward task. You’ll want to find a clean, shaded area and gather your tools before you begin. Understanding the essential steps will save you time and guarantee quality meat. However, many hunters overlook some critical techniques that can make a significant difference in the process. Let’s explore those key steps and avoid common pitfalls together.
How to field dress deer step by step
When you’re ready to field dress a deer, it’s essential to have a clear plan in mind to guarantee the process goes smoothly.
Start by laying the deer on its back, preferably on a clean surface. Position the legs apart for easy access.
Use a sharp knife to make a shallow incision below the breastbone, cutting towards the pelvis. Be careful not to puncture the internal organs.
Once you reach the pelvis, cut around it to free the organs. Pull them out gently, ensuring everything comes out together.
Finally, rinse the cavity with water and inspect for any remaining organs before transporting.
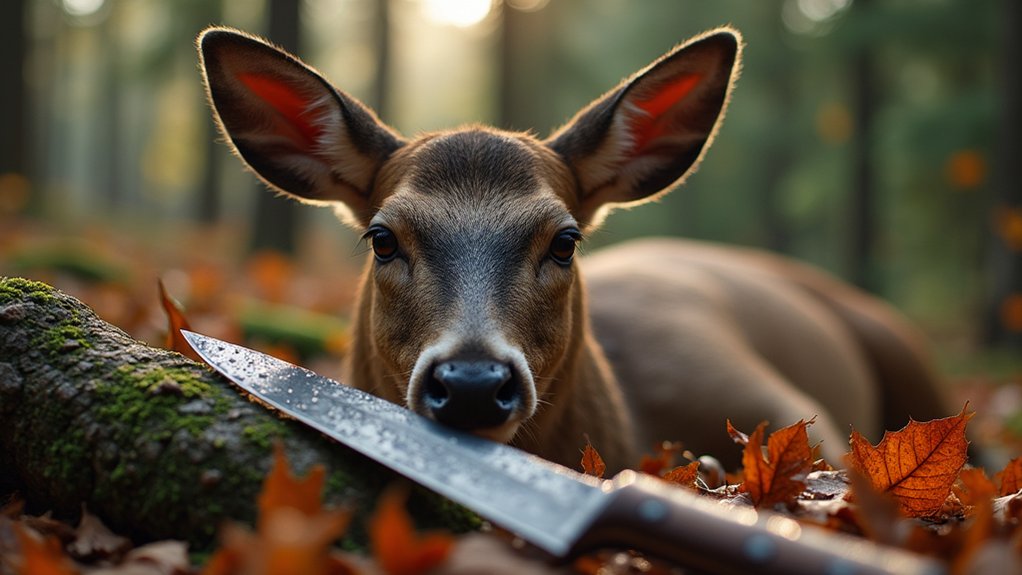
What tools do you need to field dress a deer?
To successfully field dress a deer, you’ll need a few essential tools that make the process efficient and safe. Here’s what you should have on hand:
- Sharp Knife: A good-quality, sharp knife is vital for clean cuts.
- Gloves: Disposable gloves protect you and keep the meat clean.
- Game Bags: These help you transport the meat while keeping it protected from dirt and insects.
- Bone Saw: Useful for cutting through bones if necessary.
Having these tools ready will streamline your field dressing experience, making it quicker and more effective.
Happy hunting!
Why is it important to field dress deer quickly?
Field dressing a deer quickly is essential for maintaining meat quality and safety.
When you delay this process, the temperature inside the body can rise, leading to bacteria growth and spoilage. The longer you wait, the higher the risk of tainting the meat.
Additionally, proper field dressing helps prevent contamination from gut contents, which can compromise the meat’s safety. Swiftly removing the entrails also allows for better cooling, preserving flavor and texture.
By acting fast, you guarantee that your hard-earned harvest remains delicious and safe to eat, making your efforts worthwhile.
How do you choose the right location for field dressing?
Where you choose to field dress your deer can greatly impact the process and the quality of the meat. Selecting the right spot is vital, so keep these tips in mind:
- Accessibility: Pick a location that’s easy to reach for transporting the deer and your gear.
- Cleanliness: Avoid muddy or contaminated areas to keep the meat clean.
- Shade: Choose a shaded spot to help keep the meat cool, especially in warmer weather.
- Safety: Confirm you’re in a safe area, away from public trails or roads, to avoid disturbances while you work.
What are the key steps in field dressing a deer?
When it comes to field dressing a deer, following a series of key steps guarantees the process is efficient and preserves the quality of the meat.
Start by positioning the deer on its back, making certain you have ample space. Use a sharp knife to make a shallow cut at the base of the belly, being careful not to puncture internal organs.
Work your way up to the ribcage, cutting through the skin. Once you reach the chest cavity, carefully cut around the diaphragm.
Finally, remove the internal organs and clean the cavity thoroughly. This guarantees the best meat quality for your harvest.
How can you avoid common mistakes while field dressing?
How can you guarantee a successful field dressing without making common mistakes? Avoiding these pitfalls can make the process smoother and more efficient:
- Use the Right Tools: Always have a sharp knife and gloves handy; dull tools can lead to accidents.
- Don’t Rush: Take your time; hurrying can cause cuts or damage to the meat.
- Mind the Organs: Be careful not to puncture the bladder or intestines; this can spoil the meat.
- Stay Clean: Keep your work area tidy to prevent contamination; a clean surface helps maintain meat quality.
What should you do with the deer after field dressing?
After successfully field dressing the deer, your next steps are essential for preserving the meat and ensuring quality.
First, hang the deer in a cool, shaded area to allow it to cool down quickly. This helps prevent spoilage. If you’re in a warm climate, consider using ice or a cooler to keep the meat chilled.
Next, carefully wipe down the carcass to remove any dirt or debris. If possible, keep the hide on until you’re ready to process the meat, as it helps protect it.
Finally, transport the deer to your processing area as soon as you can.
How can you improve your field dressing skills over time?
Improving your field dressing skills takes practice and a willingness to learn from each experience. Here are some tips to help you get better:
- Watch videos: Find instructional videos to visualize techniques and methods.
- Practice: Field dress small game before tackling larger deer to build confidence.
- Get feedback: Have experienced hunters critique your technique and offer tips.
- Stay organized: Keep your tools and workspace tidy, making the process smoother.