If you’re looking to tan deer hide at home, you’ll find it’s a rewarding process that requires careful attention to detail. You’ll need to gather your materials and understand the steps involved. From cleaning the hide to applying the tanning agent, each phase is essential to achieving a quality result. But before you start, it’s important to take into account the common mistakes that can arise during the tanning process.
How to Tan Deer Hide at Home: A Step-by-Step Guide
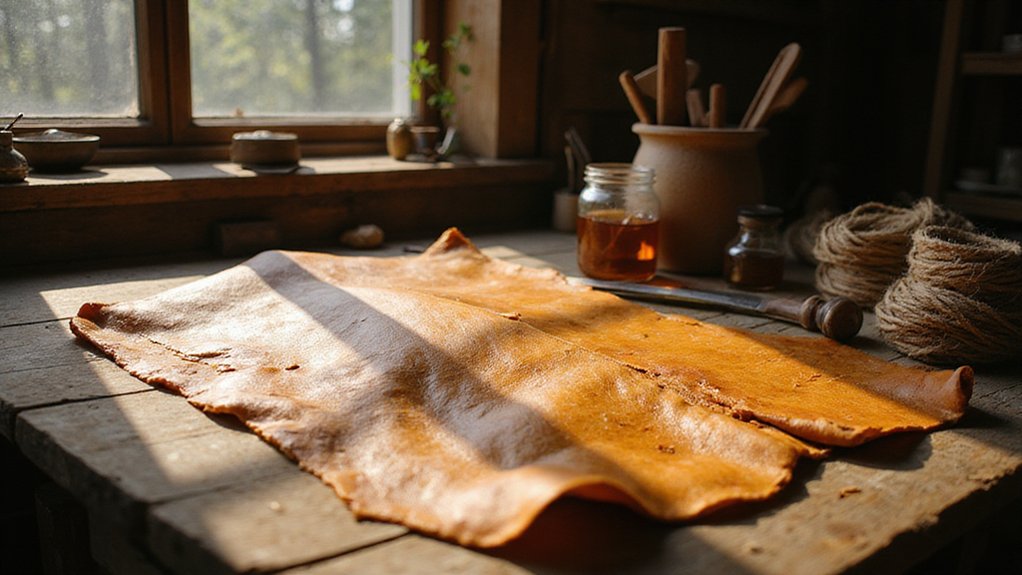
Tanning deer hide at home can be a rewarding process, and with the right steps, you can transform raw hides into soft, usable leather.
Begin by thoroughly cleaning the hide, ensuring all flesh and fat are removed. Next, soak it in a brine solution to prevent bacteria growth.
After soaking, you’ll need to apply your chosen tanning agent evenly across the hide. Allow it to cure for several days, checking for proper moisture levels.
Finally, once cured, soften the hide by stretching and working it with your hands. With patience and care, you’ll end up with beautiful leather ready for use.
What Materials Do You Need to Tan Deer Hide?
To successfully tan deer hide, you’ll need a few key materials to guarantee the process goes smoothly.
Start with the hide itself, of course. You’ll also need a sharp knife for fleshing, salt for curing, and a tanning solution—either commercial or homemade.
A large container, like a bucket or tub, is essential for soaking the hide. Additionally, gather some gloves to protect your hands and a sturdy workspace.
A drying rack or line will help you hang the hide as it dries. Finally, have some rags or towels handy for cleaning up any mess during the process.
Why Is Deer Hide Tanning Important for Preservation?
While you might think of deer hide as just a byproduct of hunting, tanning it plays an essential role in preservation. By tanning the hide, you’re preventing decomposition and keeping it from becoming a breeding ground for bacteria.
This process allows you to transform raw skin into a durable material that can last for years. Additionally, tanned hide can be used for various purposes, from clothing to crafts, contributing to sustainable practices.
When you properly tan the hide, you’re honoring the animal and ensuring that its resources aren’t wasted, creating a connection to nature and tradition that’s truly valuable.
How Long Does It Take to Tan Deer Hide?
After understanding the importance of tanning for preservation, you might wonder how long the tanning process actually takes.
Typically, tanning deer hide can take anywhere from a few days to several weeks, depending on the method you choose. For instance, using a simple brain-tanning technique may require up to a week, while more advanced methods could extend the time.
Keep in mind that preparation is key; the time spent on fleshing, soaking, and drying can add to the overall duration.
Patience is essential, as rushing the process can compromise the quality of your finished hide.
What Are the Best Techniques for Tanning Deer Hide?
When you’re ready to tan deer hide, choosing the right technique can make all the difference in the final product. One popular method is the brain-tanning technique, which uses the animal’s brain to create a natural, soft leather.
Alternatively, you can use a chemical tanning solution, which often yields quicker results. Whichever method you choose, make sure you thoroughly clean the hide and remove all fat and flesh.
Soak the hide in your chosen solution, then stretch and soften it as it dries. Always follow safety precautions, especially when handling chemicals, to achieve the best results.
Happy tanning!
How to Avoid Common Mistakes When Tanning Deer Hide?
To successfully tan deer hide, avoiding common mistakes is crucial for achieving a quality finish.
First, don’t rush the process; each step takes time and patience. Skipping the fleshing or not removing all fat can lead to spoilage, so be thorough.
When using chemicals, always follow the instructions precisely—overdoing it can damage the hide.
Verify your workspace is clean and free from contaminants that could ruin your hard work.
Finally, don’t neglect to properly rinse and dry the hide; improper drying can cause mold or odors.
What Finishing Touches Enhance Your Tanned Deer Hide?
While you may think the tanning process is complete once the hide is dried, adding finishing touches can elevate its appearance and longevity.
First, consider applying a leather conditioner to keep the hide soft and supple. This helps prevent cracking over time.
Next, you might want to rub in some beeswax or mink oil for added water resistance and shine.
If you’re aiming for a specific look, dyeing the hide can provide a stunning visual effect.
Finally, trim any rough edges to create a clean finish.
These simple enhancements will help your tanned deer hide stand out beautifully.
How to Care for Your Tanned Deer Hide After Completion?
Caring for your tanned deer hide is essential to maintain its beauty and durability over time.
Start by storing it in a cool, dry place away from direct sunlight to prevent fading and cracking. Gently clean the hide with a soft cloth to remove dust and dirt.
If it gets wet, let it air dry away from heat sources. Occasionally, apply a leather conditioner to keep it supple and prevent stiffness.
Avoid harsh chemicals and excessive moisture. By following these simple steps, you’ll guarantee your tanned deer hide remains a cherished item for years to come, showcasing its natural elegance.